
Hand Appliqué Tutorial: 2 Ways to Sew
Created by Lauren Holt
Appliqué is a type of sewing where cut out fabric
shapes are sewn down onto a background fabric to
create designs. You can use appliqué to sew any shape
you like, from a familiar heart shape to letters for
spelling out a message or to recreate your favorite
drawing as fabric art!
This tutorial will cover two methods of hand appliqué,
raw edge appliqué and needle turn appliqué.
This tutorial is intended for beginning to intermediate
sewers, using as few necessary materials as possible.
Necessary materials:
● 2 colors of fabric
● Fabric scissors
● Sewing needle
● Thread
● Sewing pins or clips
A note on fabric: For this tutorial, cotton broadcloth or
quilter’s cotton is recommended for ease of work and
flexibility.
Depending on the style of textile art being done, craft
felt can also be a good option, especially for raw edge appliqué, as it does not fray when cut.
A note on pins, needles and thread: short pins, thin thread and small needles can all help you
make smaller stitches in small spaces if you have access to them. This helps “hide” the
stitches if that is one of your goals.
Optional Materials:
● Paper or card stock, scissors, and a pencil or marker for an appliqué shape template
● A marking tool: tailor’s chalk or fading fabric pens. Water-soluble marker can work too
if you’re able to get your project wet later, or light pencil on light-colored fabric.
● An iron and ironing board

Table of Contents
Materials page 1
Getting Started page 3
Raw Edge Appliqué Tutorial page 6
Raw Edge Decorative Stitching page 7
Needle Turn Appliqué Tutorial pages 8-9
Examples of Appliqué in Quilts pages 10-14
Glossary pages 15-16
2
Getting Started
What is Appliqué?
Appliqué is a type of sewing where cut out fabric shapes are sewn down onto a background
fabric to create designs. People around the world use it in clothing, quilts, decorations and
other textile or fabric art. (Examples of appliqué in quilts from many cultures can be found
on pages 10-14)
You can use appliqué to sew any shape you like, from a familiar heart shape to letters for
spelling out a message, or to recreate your favorite drawing as fabric art!
Planning your project:
● Decide what you want to make
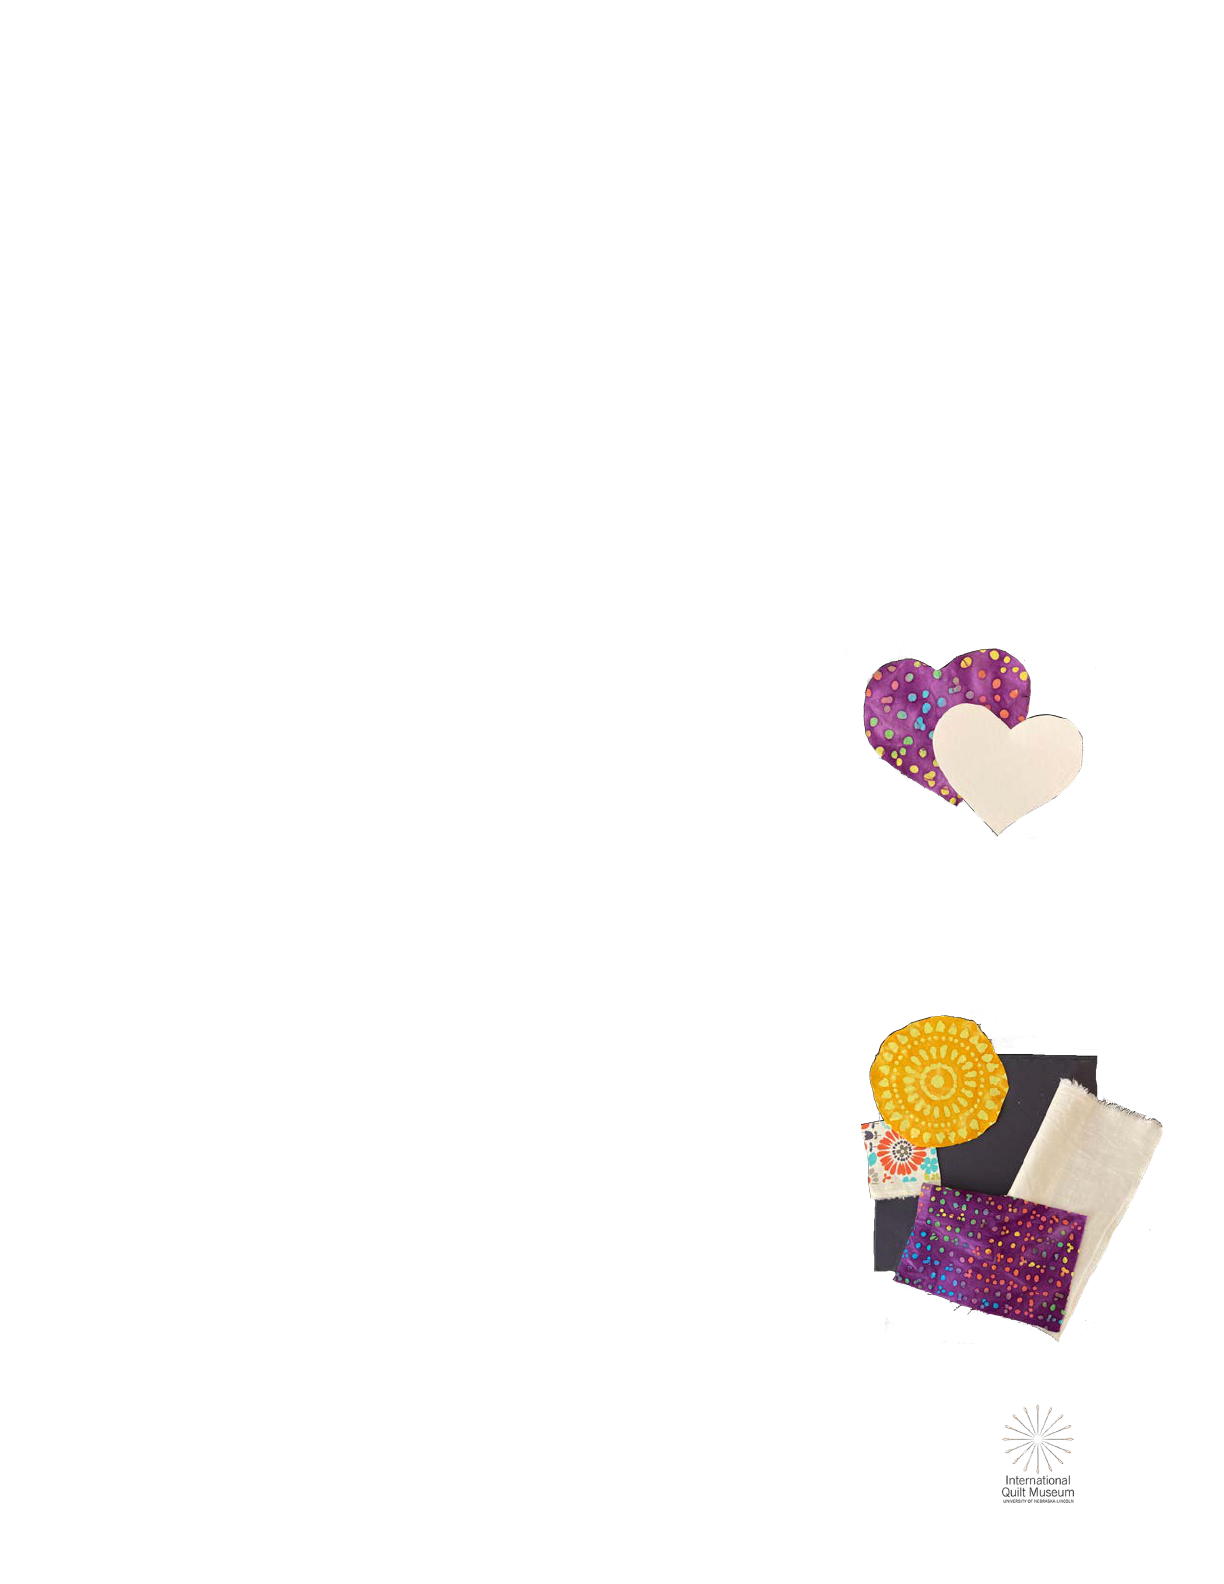
Curves are more difficult to sew than straight lines, but
that’s why many quilters choose to appliqué curved
shapes! Simpler shapes are easier for beginners. You can
use a shape you make yourself, or a template shared by
someone else.
Remember that your fabric shape will be the same as your
template shape, so be sure you have one you like!
Hearts can make good beginner projects, for practicing both curves and points.
Choose the type of appliqué you want to do: raw edge or needle turn. Raw edge
appliqué is often easier for beginners making fabric art, and needle turn appliqué is
preferred for quilts and clothing that will be washed and
used a lot.
● Prepare your materials
○ Fabric should be uncreased and lie flat.
If it is not flat, you may need to iron it. If you don’t
have an iron and your fabric is wrinkled, you can try
getting it wet with a damp cloth and smoothing it flat
with your hands or a heavy book. You could also
3
dampen it and then put it in the dryer, or use a steamer, if you have those
options.
○ Thread your needle. Choose thread that is close to your appliqué fabric if you
want your stitches to be hidden, or very different from your fabric if you want
them to be visible.
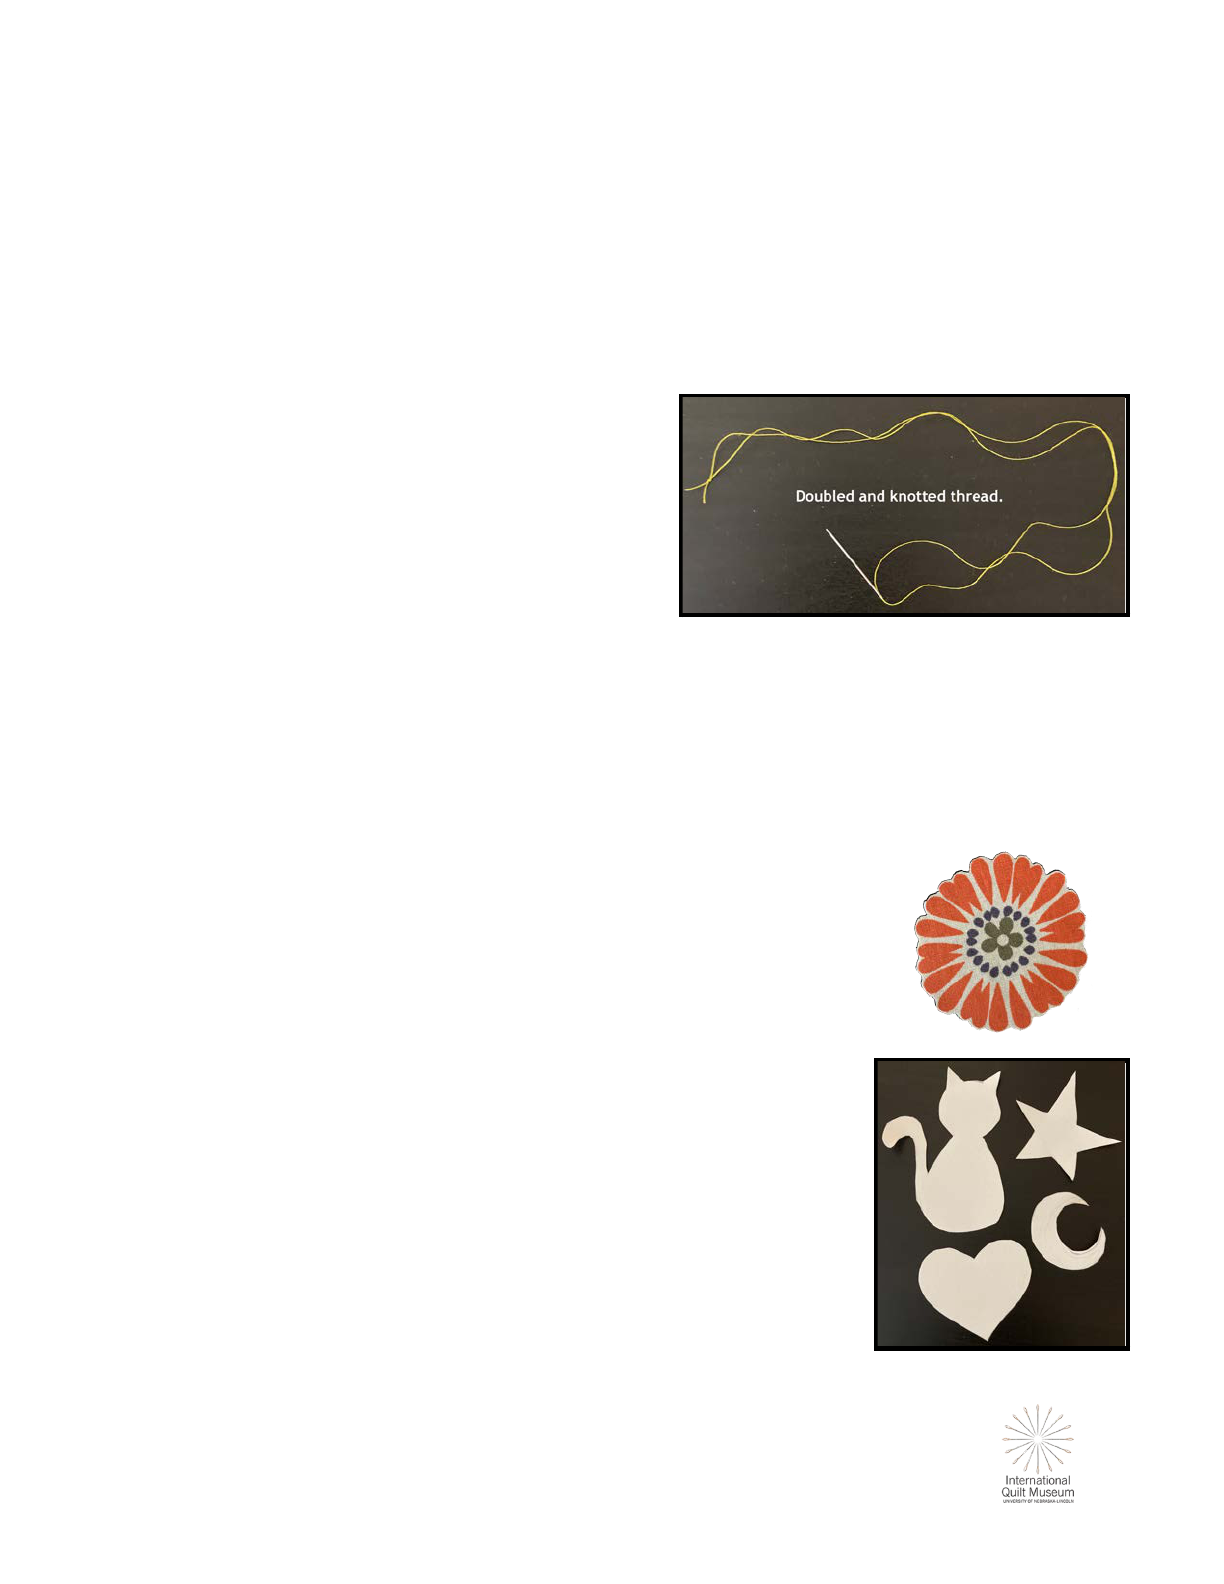
A shorter length of thread is easier to
sew with. Try the length from your
fingertips to your elbow to start. If
you want extra-thick thread to make
it show up more, double it.
Tie a knot at the end of your thread.
If you are doubling your thread, tie
both ends together.
Creating appliqué shapes:
● Create your appliqué template
Paper or card stock can be used to make your template. Just
draw the shape you want! Keep in mind that the outline of what
you draw is the shape your fabric will be.
If you don’t want to draw your own appliqué template, you can
use one someone else has made, or you can cut out a shape
that’s already in the fabric, like this flower.
You might ask a friend or teacher whose art you like to draw
what you want, or there are many simple appliqué shapes
online.
Remember that your fabric shape will be the same as your
template shape, so be sure you have one you like, and cut it
out carefully. You can keep working on your drawing as many
times as you want.
4

● Cut out your appliqué shape
Pin your template to your fabric the way you want your
shape to look, with the “right” side facing up, so you get
the shape you want.
The “right” side of your fabric is the one the pattern
was printed on, so it’s usually brighter. On the “wrong”
side it can be hard to see the pattern. On solid color
fabrics, it can be hard to tell which is the “right” side
and which is the “wrong” side. As long as you like the
color, this can be okay. Experienced sewers might
notice, but it’s your art and you can make it however
you want to.
For raw edge appliqué: no border is needed, but be
careful not to cut into your shape!
For needle turn appliqué: cut a ¼-inch border around
shape. You can mark this with your marking tool if you have one.
Cut carefully, and don’t cut into the edges of your template. The edge you cut
here will be the same shape you sew down!
● Pin your appliqué shape to your background fabric
The number of pins you use will depend on the size of
your shape. One or two pins is often enough. Make sure
your shape lies flat so you don’t end up with bumps in
your final piece.
Because this cat and moon both have sharp points in their shapes,
more pins were used. The cat is made with cotton batik fabric, and
the moon with craft felt. The moon will not fray.
5

Method 1: Raw Edge Appliqué
Raw Edge Appliqué is often used in fabric art and art quilts to create shapes that are more
“true to life” or “true to drawing” because the fabric is cut exactly into the shape desired.
It’s especially useful for beginners and artists who are making pieces they intend to display as
hanging art. If your appliqué is going to be washed or folded a lot, this may not be the best
method for you.
Sewing Raw Edge Appliqué
The simplest sewing stitch to use for this technique is running
stitch, sometimes called dolphin stitch. This is the most common
and basic sewing stitch, where you push your needle up through
the layers of fabric, move it forward along the fabric’s edge a
small length, and then back down again, in a line. If you know
other stitches you like, you could use those instead.
(Image by Jomegat, Wikimedia Commons)
Try to keep your stitch length pretty short, so that your shape will stay secure. Long stitches
and large spaces between stitches may lead to your fabric coming loose later.
Pull just until you feel resistance. If you pull too hard on the thread, you can wrinkle the
fabric. If your thread gets tangled, untangle it carefully before continuing.
Start sewing!
● Push your needle through both layers of fabric from the
“wrong side” of the background fabric, so that the needle
comes out just inside the edge of the appliqué shape.
● Stitch around the edge of your shape until you have secured
all parts of your shape to the background fabric. Be careful
not to get your thread caught on anything as you stitch.
● If you run out of thread, tie a knot on the back side of your
fabric and re-thread your needle to start where you left off.
● When you reach the end, tie a knot on the back side of your
fabric. That’s it!
6
Alternative: Raw Edge Appliqué with a Decorative Stitch
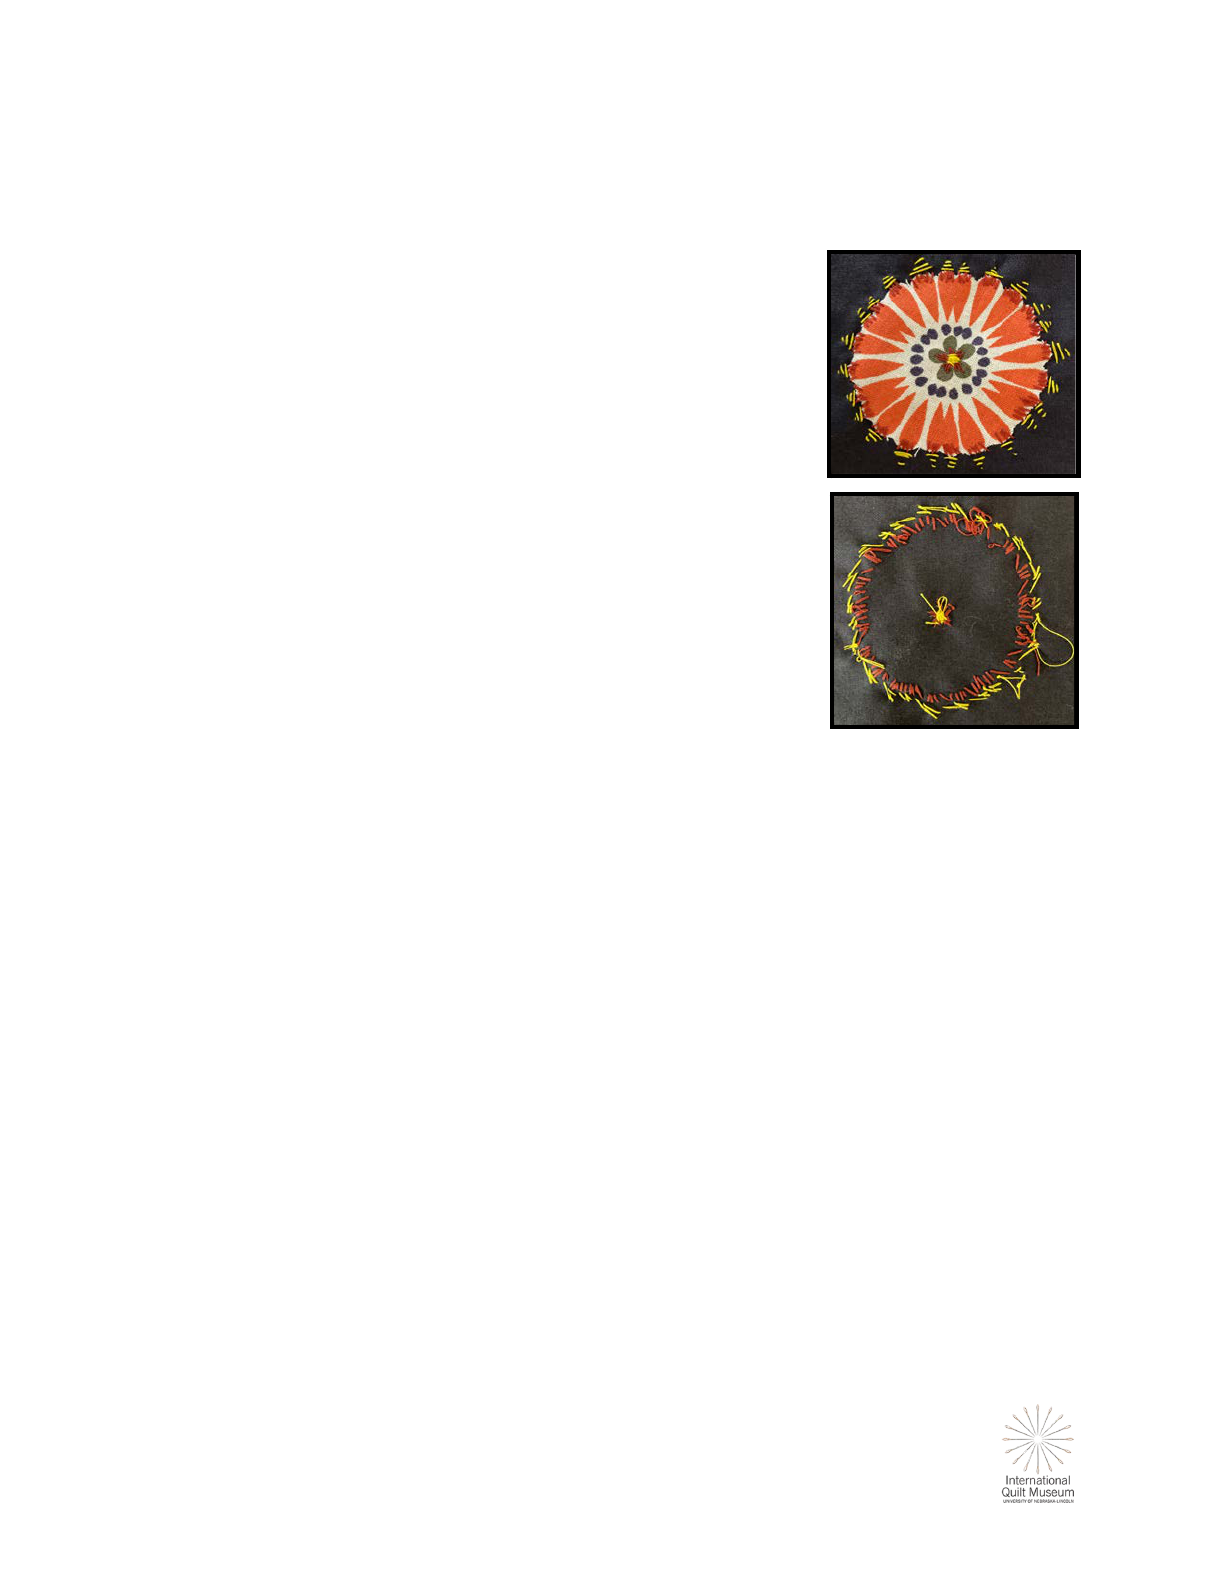
Another type of raw edge appliqué can be done with decorative
stitching. Decorative stitching is any kind of stitch that is meant to
be a visible part of the art.
For this example, a beginning sewer used red threads to make
stitches on the ends of the flower petals, and then also in the
middle, securing the flower to background fabric. Then they used
yellow thread at the very center and just on the background
fabric. For this decorative effect, they used doubled thread to
make the stitches stand out more.
It was their first try, so it’s not perfect and the back is pretty
messy. But as long as you like how it turns out, it’s successful art!
7

Method 2: Needle-turn Appliqué
Needle-turn appliqué involves turning the cut edge of the appliqué shape underneath and
sewing the shape down with near-invisible stitches. It’s called “needle turn” because you use
the needle to tuck the fabric as you go, although you can use your fingers for that part if it’s
easier.
This type of appliqué is used when the artist wants to create a clean edge, or is worried about
wear and tear on a project like clothing, or a quilt, that will be folded and washed many
times.
Note: This technique begins to be different from raw edge appliqué when you’re ready to cut
out your shape, so we’ll begin there.
Cutting out your shape:
For needle turn appliqué, you want to leave a border of fabric around
your shape. This is the fabric that will be folded under. Usually, it’s
recommended that you give yourself ¼ inch of fabric as a border.
For curved shapes, you will need to cut small slits in the border to let it
fold flat.
You can also iron the border fabric into place, or hand-press it to make a crease
where you want it, so the sewing is easier. Make sure you make all folds to the
back or “wrong” side of your fabric.
Start Sewing!
● For this example light-colored thread was used so it would
show up in photos. If you don’t want your thread to be
noticed, choose a color that matches the fabric.
● Push your needle through from the “wrong side” of the
background fabric, so that the needle comes out just next
to or under the edge of the appliqué shape.
8

● Begin to turn the ¼-inch border under. The “right” side should be facing up, and the
turned edge should make a smooth fold. Corners may also need extra care.
● Use a “slip stitch” also called “invisible stitch” to secure your shape to the backing
fabric. For this stitch, you will make one stitch on your shape fabric right at the edge,
and then another through the background fabric right next to it to create
nearly-invisible stitches. If you are not concerned about the stitch being visible, you
could also use whip stitch or running stitch.
● Carefully stitch around your appliqué
shape, turning your border under and
paying attention to the fabric as you go to
make sure you have a clean edge. In this
example you can see that sometimes the
stitches were bigger and sometimes they
were smaller, and the last fold wasn’t
quite right, so the heart is a little wonky.
Mistakes like this are just part of being a
beginner, and as long as you like the end
result, it’s good art. Some fabric artists
do these things on purpose!
● When you reach your starting stitches, make one or two more stitches to secure the
shape, then push your needle back through the background fabric.
● Tie a knot in your thread and cut off the
remainder. Congratulations! You’ve
appliquéd a shape with needle turn
appliqué!
The back side of a beginner’s attempt at needle turn appliqué.
9

Examples of Appliqué in Quilts
These 10 quilts each show a different way a quiltmaker used appliqué. Some create repeating
patterns, while others tell stories or show original designs. In each case, the appliqué was
applied by hand by a different maker in a different part of the world.
Ralli, probably made in Sindh,
Pakistan, circa 1970-1990, maker
unidentified. IQM 2005.033.0019
Quiltmakers in Pakistan often
don’t use templates, but cut
their shapes freehand. The
appliquéd parts of this quilt
include the snowflake-like
shapes, the crosses, and all the
small shapes that make up the
three borders.
For a closer look, visit: https://www.internationalquiltmuseum.org/quilt/20050330019
Kaiulani’s Fan and Crown, made by Marjorie Kerr in
Hawaii, USA, circa 1981-1990. IQM 2014.074.0001
Like the ralli quilt above, Hawaiian quilts like
this one feature geometric appliqué designs.
The central red fabric seen here is all one
piece. The maker folded her fabric into a small
square and then cut a design into it so that it
would be symmetrical when the fabric was
unfolded.
For a closer look: https://www.internationalquiltmuseum.org/quilt/20140740001
10

Bai Jia Bei, made by Pan Kai Li in Wang Jian Cun,
Shaanxi, China, circa 2013. IQM 2013.020.0001
This style of quilt from China, also called
a 100 Good Wishes quilt, is made to
celebrate a new baby’s birth. This
example has tigers, frogs and birds
appliquéd and embroidered onto it, as
well as other animals. The appliquéd
figures are associated with protection
from evil influences and disease.
For a closer look, visit: https://www.internationalquiltmuseum.org/quilt/20130200001
Tomato, made by Eiko Okano in Tokyo, Japan, circa
1998. IQM 2017.081.0015
Eiko Okano is a quiltmaker from Japan who
makes many types of quilts, including
quilts about her favorite foods. This quilt
block is only 8x8 inches, but she has
appliquéd onto it a pair of tomatoes in a
bowl. She used dark thread to stitch
outlines for shapes, and a second layer of
lighter-colored red fabrics to make
highlights.
For a closer look, visit: https://www.internationalquiltmuseum.org/quilt/20170810015
11

Daisy Chain, made in Shaker Heights,
Ohio, USA by an unidentified maker,
circa 1936. IQM 1997.007.0834
This quilt shows one of the most
common ways appliqué is used in
traditional quiltmaking: to
decorate a quilt with flowers and
other rounded shapes that are
difficult to sew by piecing. Each
white flower petal, yellow
center, green leaf and stem were
sewn on separately.
For a closer look, visit: https://www.internationalquiltmuseum.org/quilt/19970070834
Paradis Perdu No. 2, made by Mariel Clarmont in Paris, France, circa 1986. 2018.035.0003
This quiltmaker from France created what’s called a triptych, or a series of three panels that
come together to form one artwork. In this work, appliqué is used to sew beautiful curves.
The quilting pattern, which outlines the colored shapes, is called echo stitching.
For a closer look, visit: https://www.internationalquiltmuseum.org/quilt/20180350003
12
My Galaxy, made by Tony Berlant and
Diane Berry in Kingston, Ontario, Canada,
in 1976-77. IQM 2008.042.0003
This original quilt shows a pattern
of appliquéd cats! With their
curved backs and tails and pointy
ears, cats make for an excellent
shape to appliqué. This quilt is
large enough to fit on a large
bed, so that the owner could be
covered in cats.
For a closer look, visit: https://www.internationalquiltmuseum.org/quilt/20080420003
Squirrel and Acorn, made in the United States by
an unidentified maker, circa 1980-90.
IQM 2006.043.0018
Though this quilt also features an animal
as its main focus, here the quiltmaker
has stuck to a more traditional format
of four repeating blocks showing the
same image. The light tan border pieces
frame each scene of a squirrel eating an
acorn amid colorful fall leave.
Why do you think the top pair of
squirrels are facing each other, but the
bottom pair are facing away?
For a closer look, visit:
https://www.internationalquiltmuseum.org/quilt/20060430018
13

Original, Story Quilt, made by Elizabeth Savanhu
in Zimbabwe, circa 2006. IQM 2006.040.0001
This quilt, made in Zimbabwe, shows
scenes of daily life in the maker’s
home. Appliqué with many different
layered fabrics was used to create the
figures in each block, showing them
playing games, doing chores and making
art.
For a closer look, visit: https://www.internationalquiltmuseum.org/quilt/20060400001
Holiday in Suzdal, made by Lidya Lebedeva and Luba
Karlycheva in Suzdal, Russia, circa 2006. IQM 2018.008.0007
In this story quilt from Russia, appliqué was used to
create a scene from the makers’ hometown. Four
young women in traditional sarafan dresses and
headscarves dance in a field across the river from
the Church of St. Nicholas, one of many churches in
the ancient town of Suzdal. In 1864 Suzdal
businessmen tried to convince the government to
route the Trans-Siberian Railway through their
town, but failed. As a result, much of Suzdal’s
centuries-old architecture survives to this day.
For a closer look, visit:
https://www.internationalquiltmuseum.org/quilt/20180080007
14

Glossary
Appliqué
noun
Decoration, such as a cutout design, that is sewn on to or otherwise connected to a
piece of fabric.
verb ap·pli·quéd, ap·pli·qué·ing.
To apply something as appliqué to a background.
Raw Edge Appliqué
An appliqué method where the shapes are cut to the exact size needed and the edges
are kept “raw,” and not turned under. This method is generally either used for fabric art
where fraying edges will not matter, with a non-fraying material such as felt, or
reinforced with fusible materials to prevent fraying.
Needle Turn Appliqué
A hand appliqué method where the shapes are cut with a small (¼-inch) border, which is
then “turned under” the shape during sewing, to create a clean, folded edge. This
method is most often used for quilts, clothing, and other projects that will be folded,
washed, and frequently used, rather than only displayed.
“Right Side” of fabric
This is the side of a piece of fabric that is more colorful and
vibrant, the “face” that looks out at the world. On printed
fabric, it’s the side it’s easiest to see the pattern on. On
solid-color fabric without a pattern, it’s the side that seems
brighter, and often it’s harder to see the texture of the fabric
weave.
“Wrong Side” of fabric
This is the side of a piece of fabric that looks “faded”. On printed fabrics this side will often
be paler, with more white threads visible. On solid-colored fabrics, this side will be duller,
and often the threads that make up the weave will be more visible.
Running Stitch - Also called “straight stitch” or “dolphin stitch”
A basic sewing stitch that makes a line of small, even stitches that run
in and out of the cloth like a leaping dolphin or a single line of
footsteps.
(Running stitch mage by Jomegat, Wikimedia Commons)
15

Slip Stitch - Also called “invisible stitch”
A stitch used to hide the appearance of the stitches. It is made by running the needle inside a
fold or meeting point and picking up a thread or two from one side, then the other, without
the needle passing fully through the outside-facing fabric.
Whip Stitch
A sewing stitch where the needle passes through one or two
layers fabric and is then pulled over the edge and re-inserted,
so that the thread circles the outside edge of the fabric.
(Whip stitch image by Jomegat, Wikimedia Commons)
Other stitch examples:
Hand Sewing Stitches by Hellosewing. Image courtesy Wikimedia Commons.
16
